How to Create a DIY Travel Scrapbook
Over the holiday break, I took a few trips down memory lane, living vicariously through past journeys that I documented in old travel scrapbooks. Remember photo albums? It’s how we used to share our adventures in the era before travel blogging. For me, these childhood albums are both reminders of treasured past memories, as well as keepsakes that inspire future wanderlust. Don’t get me wrong — I love and appreciate the new world of online travel research and the tools we have at our fingertips; these forums save time and help connect us with other travelers. However, travel scrapbooking was the creative precursor for people itching to document their adventures.
So, this got me thinking: in a COVID world where we currently can’t travel as we once did, why not use the time to dust off those old photos, and create an album of past trips? Today is New Year’s Day — perhaps it’s a good time to set a scrapbooking goal for yourself for the year. Pick one trip. You have one year to get it done. Here’s how to get started, and a little bit about my own travel scrapbooking journey.
My trip down memory lane
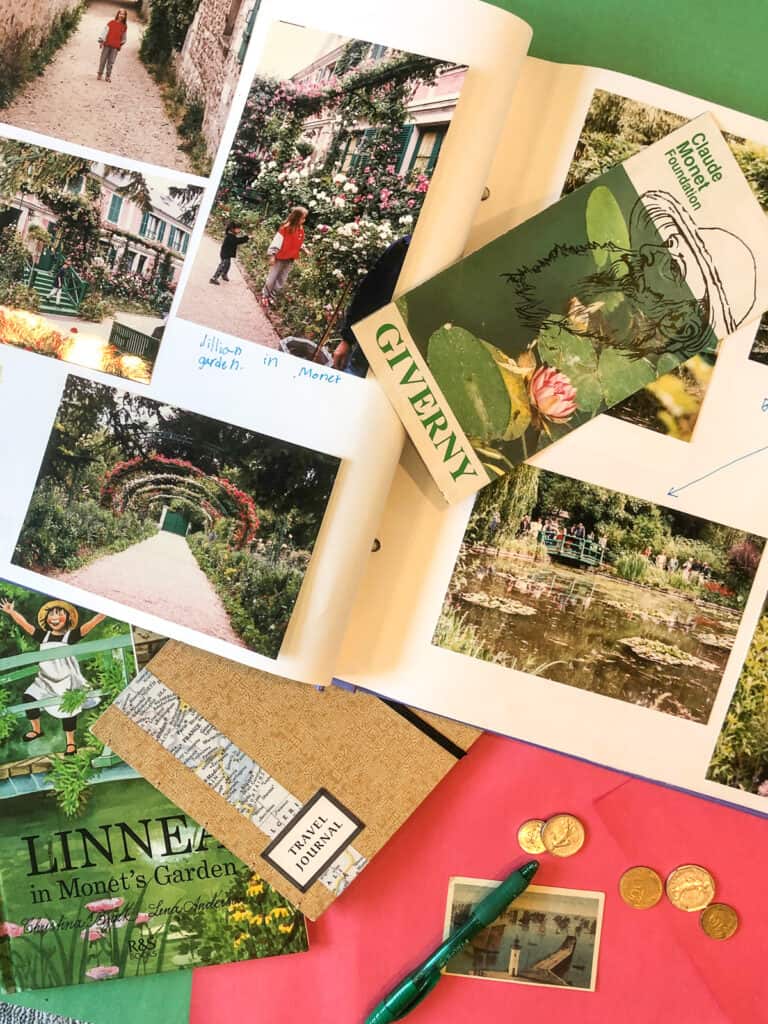
When I was 8 years old, my mom won an essay contest on NPR radio. The prize was a trip for 4 people to Paris, France! Little did I know this vacation of a lifetime would kick start my travel passions. I collected memorabilia all along the way and upon returning, carefully created my very first album.
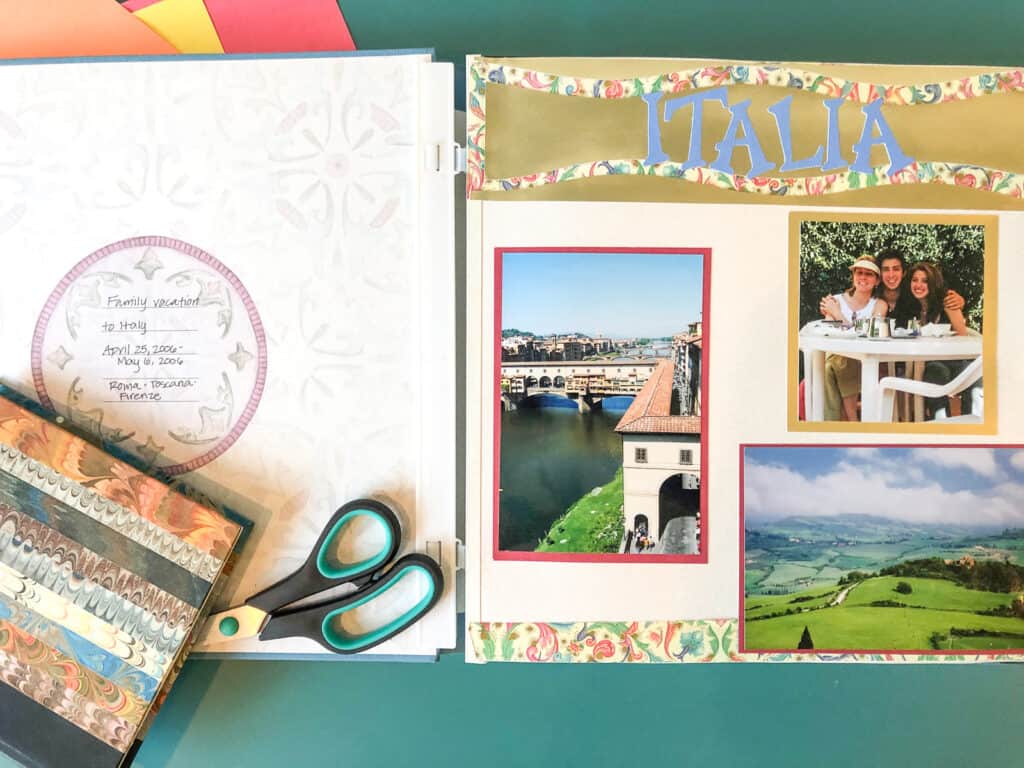
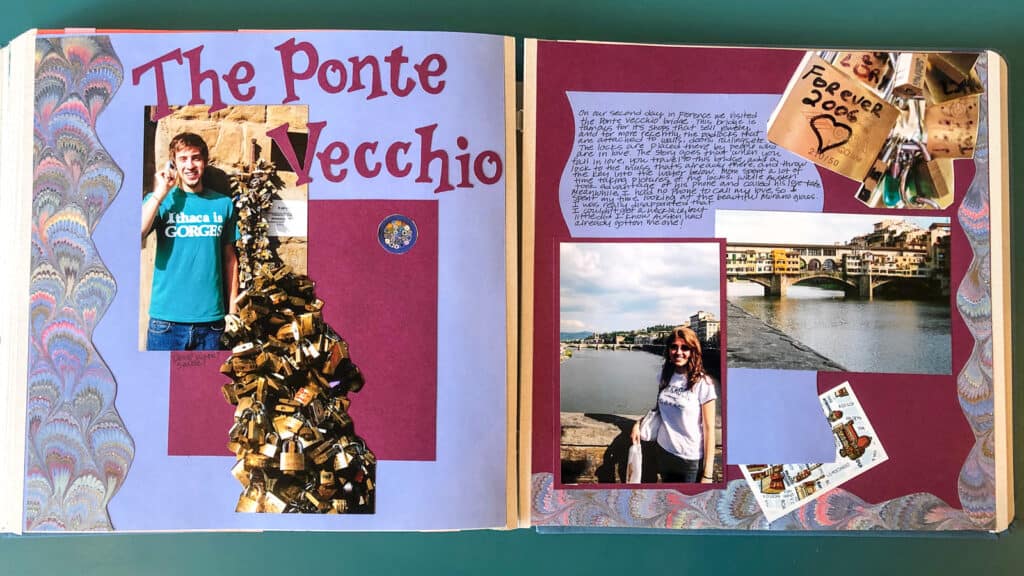
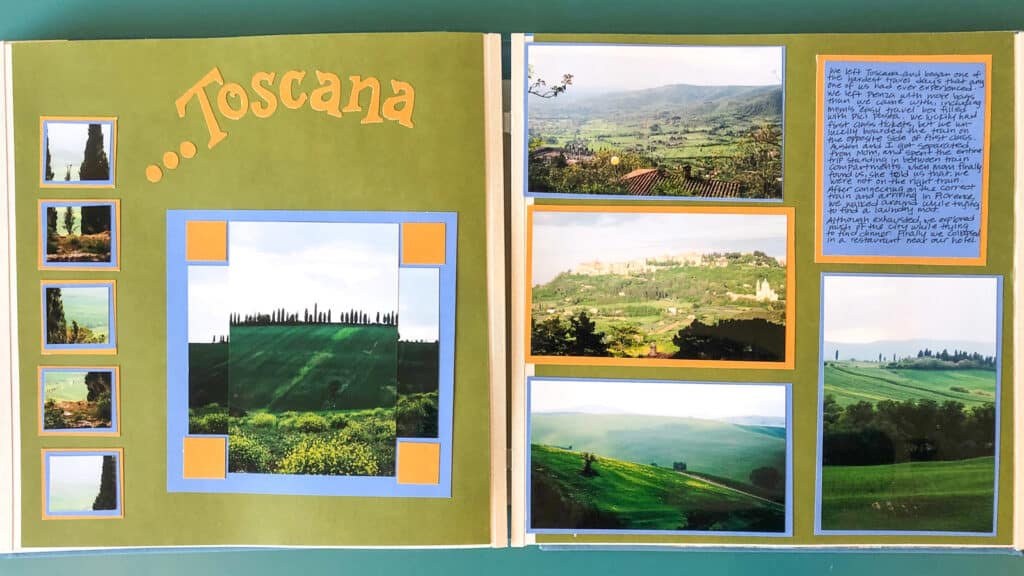
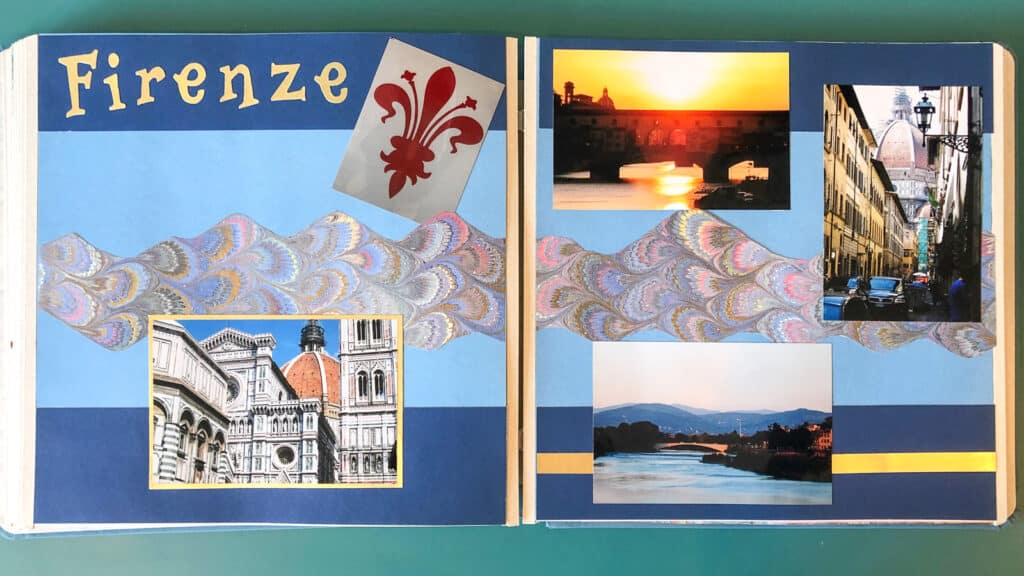
I even made travel scrapbooking the focus of my senior project in high school — much to the dismay and hesitation of my senior advisor who mistakenly thought scrapbooking was not a worthy endeavor (Sorry, Mr. Kelly — I’m still not over that). I convinced him to sign off on my idea, and then spent the last month of senior year attending scrapbooking workshops and learning more about the process from the “Pros.” I’d recently returned from Italy and wanted to chronicle my adventure in a creative and thoughtful manner. A month later, I showed up to my senior project presentation with my carefully curated travel memories in hand. Even Mr. Kelly admitted it was pretty cool.
So, if you’re itching for travel, here’s a way to ride out the rest of COIVD, with a stay-at-home DIY project. Printing photos and taking the time to make an album may be old school (especially with the advent of digital scrapbook companies), but it’s the perfect activity to get the kids involved while everyone’s at home together, and it will inspire future travel journeys.
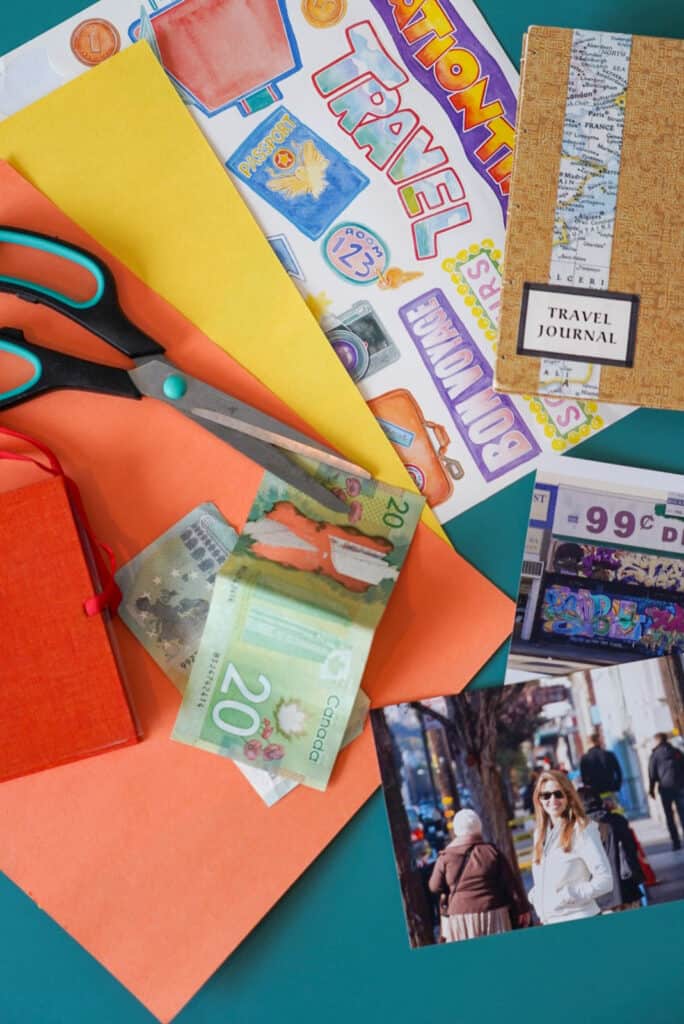
STEP 1 DIY SCRAPBOOK: GATHER YOUR MATERIALS
- Printouts of your photos: Lots and lots of photos!
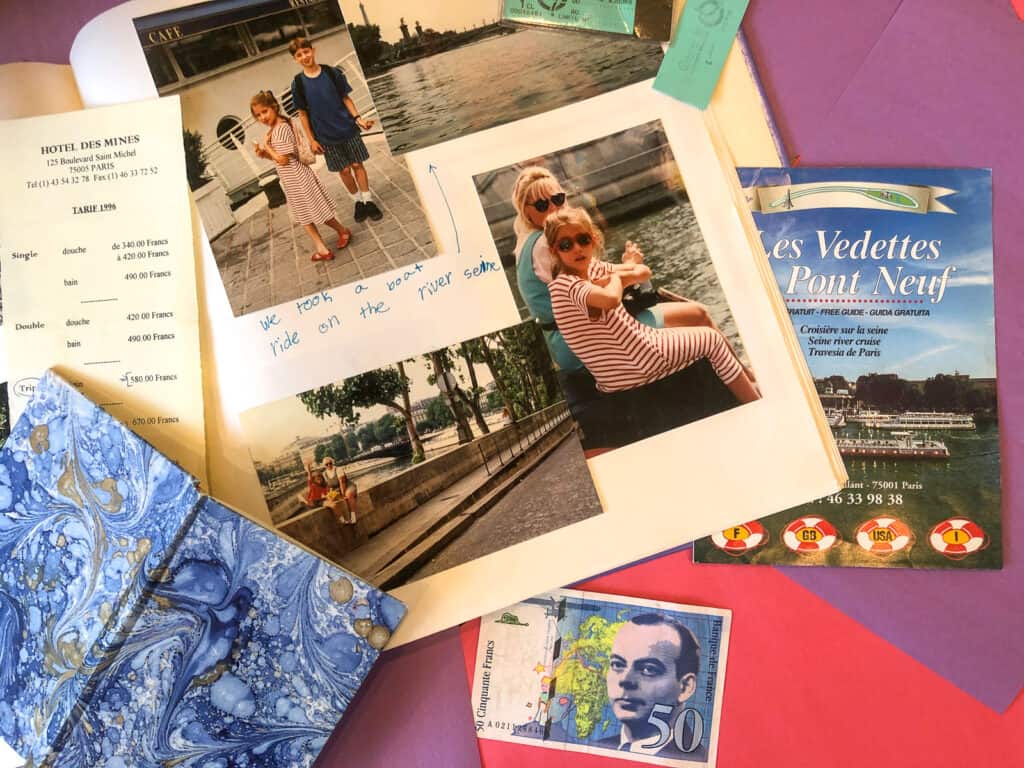
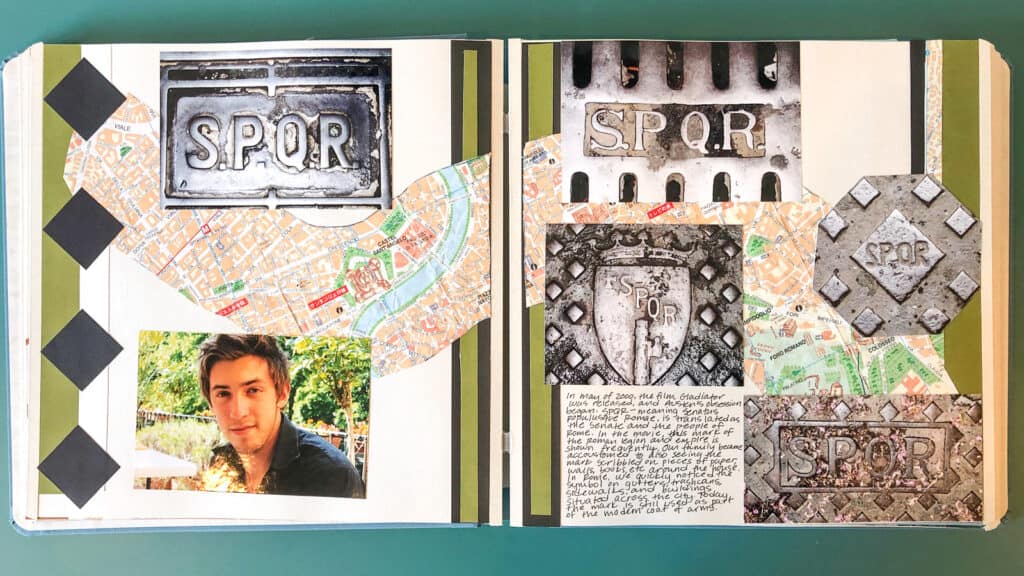
- Travel memorabilia: coins, stamps, tickets stubs, maps, postcards
- Journal notes: If you wrote anything down, now’s the time to dig those notes out. Sometimes I like to use the actual journal entry as a decorative element. Other times, I just rewrite a memory or two on each page.
- Tools: album, scissors, double sided tape, glue, nicer quality construction paper, good markers/pens.
- Decorative elements: fancy paper, stickers
- Scrapbooking supply stores: If you don’t have some of these materials at home, you can order online at Creative Memories, Scrapbook.com, Michael’s
- Digital options: If a digital scrapbook is more to your liking, check out the company Mixbook.
STEP 2 DIY SCRAPBOOK: CHOOSE WHICH MOMENTS TO HIGHLIGHT
There aren’t really any rules for this — it just comes down to what you’d like to highlight and how you want to tell the story.
- Are you a linear thinker? If so, you can start with Day 1 and map out your adventures each day at a time.
- Or, do you prefer to mix and match? Do you think more thematically and wish to tell your story a bit differently?
- Don’t forget to highlight funny memories, action shots, and even travel “fails.”
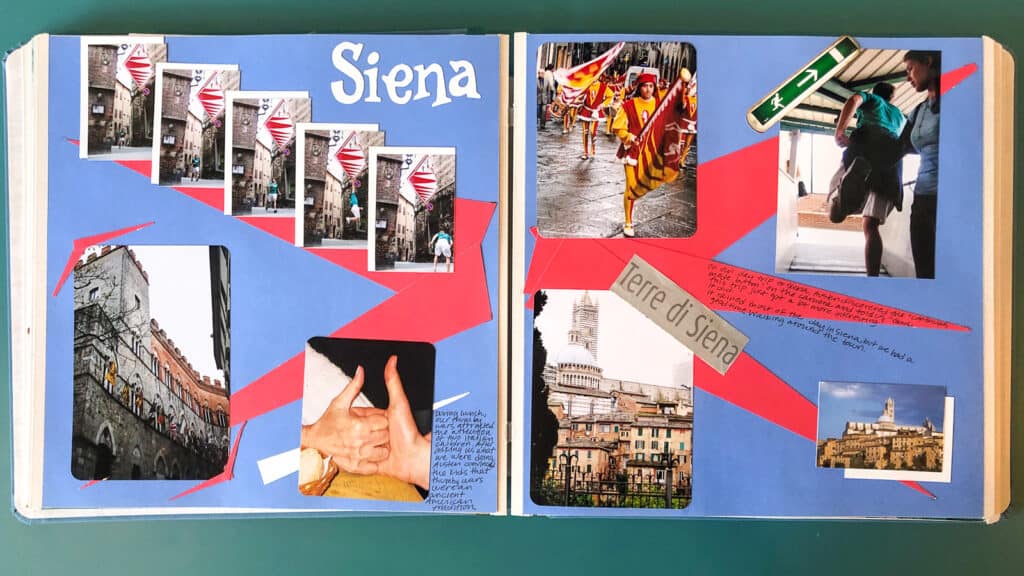
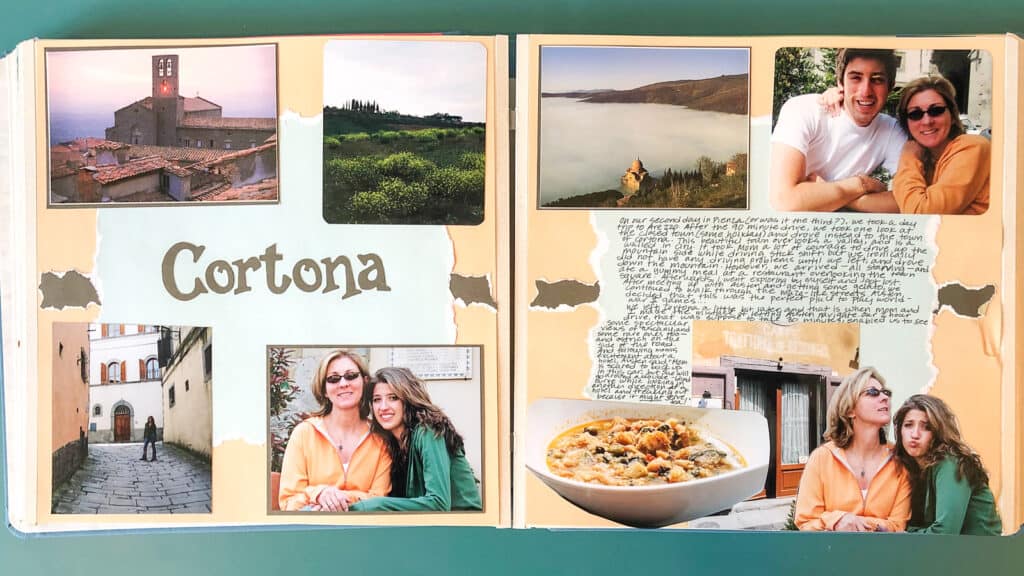
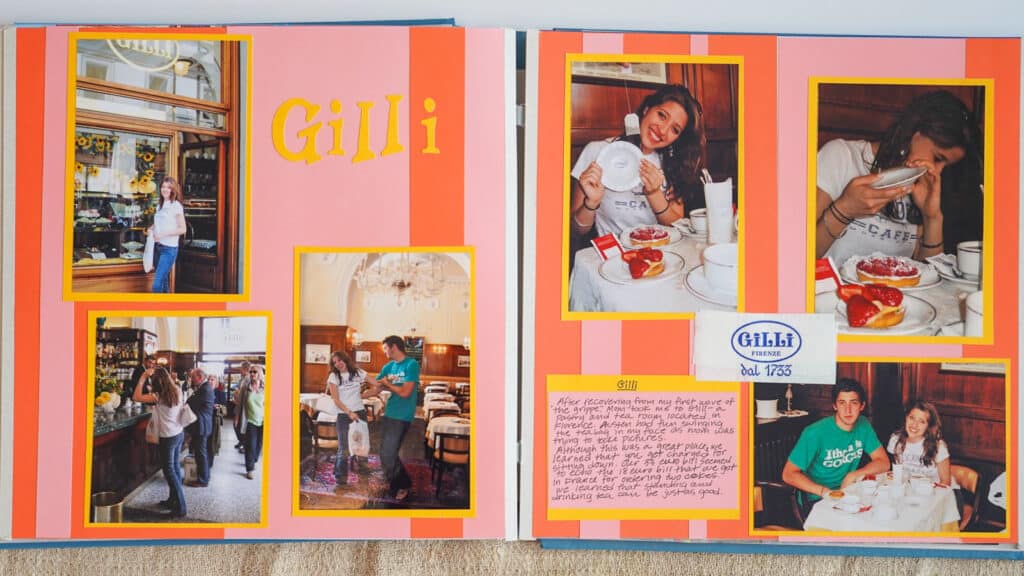
STEP 3 DIY SCRAPBOOK: THINK ABOUT LAYOUT
This is where your creative juices can finally get flowing! Here are some tips for creating a great layout.
- Choose a color scheme for the page.
- Highlight 1-2 stories or moments.
- Use your own handwriting to jot down memories, or have your kids help by writing a few notes in themselves. You’ll love seeing their handwriting years later.
- Get creative with decorative elements and different textures — include coins, ticket stubs, stickers, old maps, or draw something freehand.
- Create borders around your pictures.
- Feel free to cut up your photos to create different design elements.
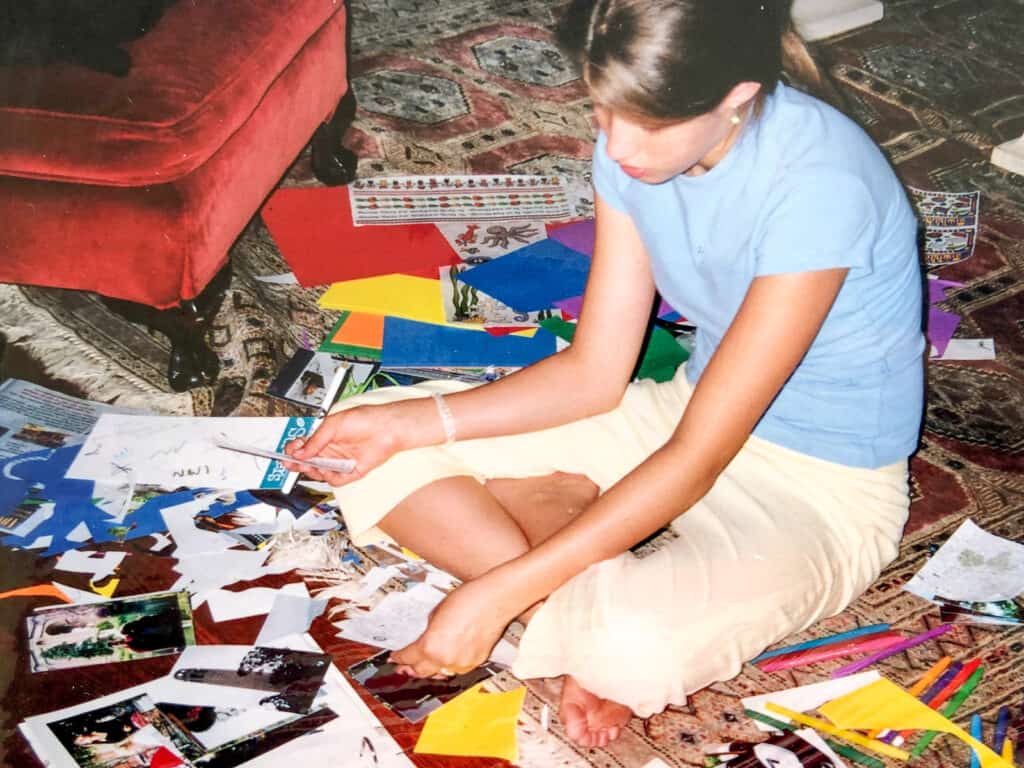
STEP 4 DIY SCRAPBOOK: GET GLUIN’
Once you have a layout idea, just go for it! While writing this post, I found this “scrapbook in the making” photo in some old files – Me, age: 13. Decisions, decisions.
TIPS FOR FUTURE TRAVEL:
When you do treat yourself to another future excursion, you’ll want to keep the following tips in mind:
- Collect memorabilia in an organized fashion: Bring a large manilla envelope to collect any travel tokens, papers, maps or supplies to use later on.
- Journal as you go: Bring a small journal or notebook and write a few memories down each day.
- Is your destination known for anything that you’d like to include? For example, Florence is known for its beautiful Florentine paper, so I purchased some to use as a decorative element in my Italy scrapbook.
Get on the List!
Start gathering your future travel ideas now! Sign up to receive exclusive travel itineraries and tips.

gorgeous, artistic, and inspirational, jillian !
Loving the Canadian money!